
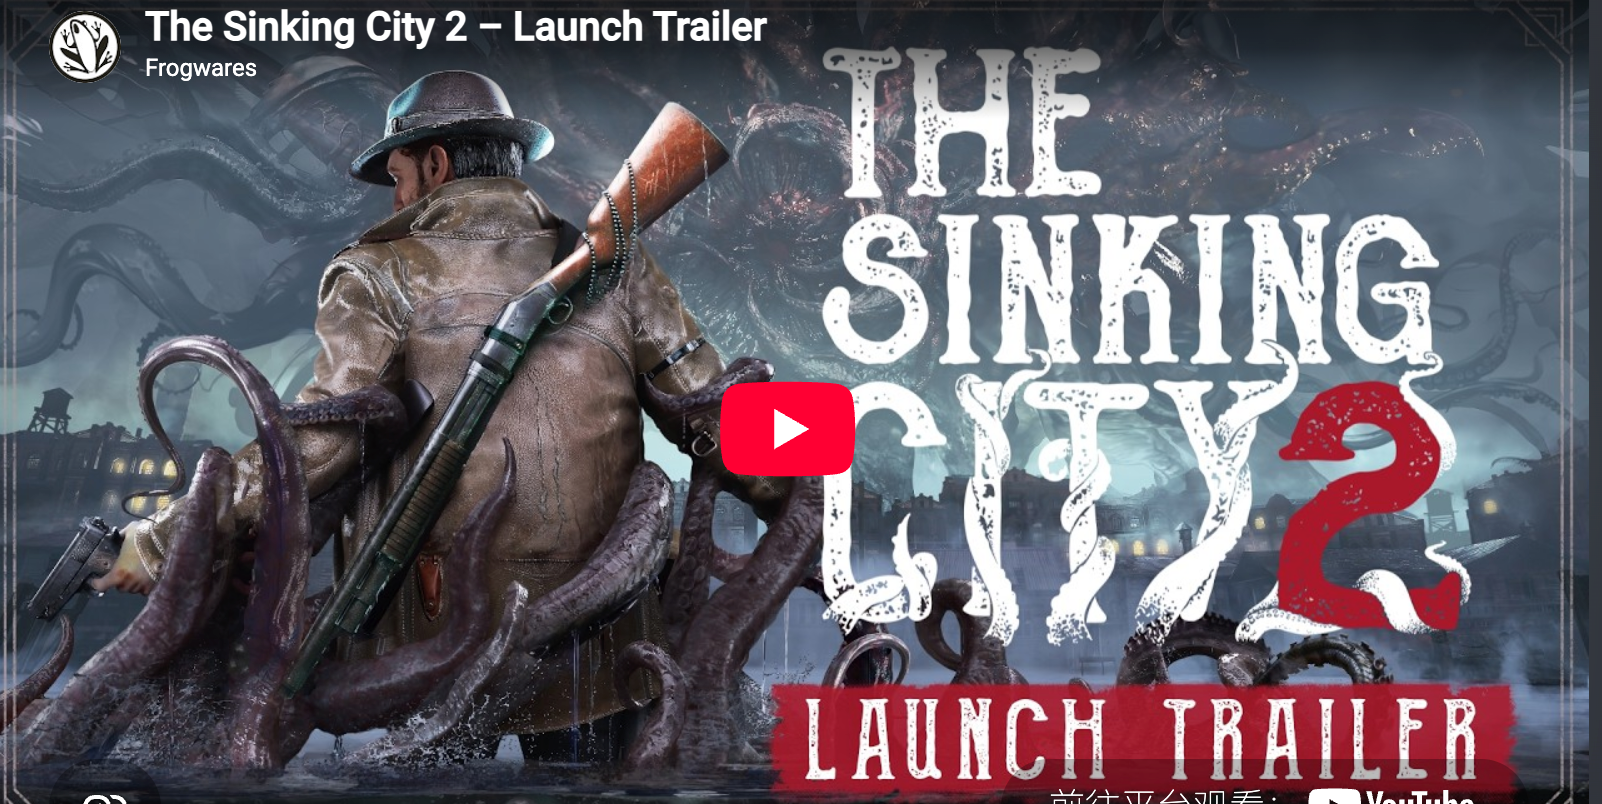
CASE FILE // ARKHAM–02

An investigator's survival archive

The Sinking City 2

The water is rising. The city is changing. Enter the flooded streets of 1920s Arkham with the field notes, evidence, and survival tactics you need to make it back alive.

  • LocationArkham, Massachusetts
  • Threat levelCritical
  • Archive statusVerified · Aug 24
Scroll to investigate

Start here · evidence index 01–04

The Investigator's Files

Four essential dossiers. Read them before you step beyond the last dry street.

  1. 01

    Beginner Guide

    Learn the essential survival mechanics, exploration basics, combat tips, safe rooms, healing, inventory management, and mistakes to avoid during your first hours in Arkham.

    Read dossier
  2. 02

    Full Walkthrough

    Follow all five chapters from Calvin's apartment and the Miskatonic Library Annex through Akeley Hospital, the Fish Market and the final portal.

    Read dossier
  3. 03

    Safe Codes

    Open every fixed lock with verified combinations for Apartment 5, the church, Devil's Reef, Akeley Hospital, the Fish Market and Holloway Manor.

    Read dossier
  4. 04

    Achievement Guide

    Plan all 23 achievements, the eight optional investigations, one-run E.R.C. crate cleanup and the Ex Oblivione New Game Plus pass.

    Read dossier

Field guide · classified material

Survival Records

Basics8 min read

Beginner Guide

Your opening chapters teach the survival loop: search rooms before advancing, mark shortcuts on your map, and treat every encounter as optional until an objective forces it. Ammo and bandages are scarce enough that retreat is often the strongest play.

  • Loot methodically. Check desks, drawers and bodies before leaving a room; many safes hide crafting parts or sidearm ammo.
  • Use safe houses as checkpoints. Rest, restock what you can, then plan a route with two exits before heading deeper.
  • Save heavy weapons. Pistols and melee handle common Deep Ones. Keep shotguns and rare rounds for ambushes and bosses.
  • Skip fights you can avoid. Stealth routes and skiff travel often cost less than a firefight.
Survival6 min read

Ammo & Resource Guide

Treat resources as route planning rather than luck. Search before you advance, avoid fights when supplies are low, and use E.R.C. crates as both exploration goals and the main source of inventory upgrades.

ResourceWhere to prioritizeTip
AmmunitionSearchable rooms and containersFocus aim and shoot weak points
Healing itemsDrawers, lockers and yellow boxesRetreat when health or supplies run low
Talent PointsCompleted Investigation Space linksConnect related evidence instead of guessing
Dream EssenceOptional investigationsSpend it at the Talent Table from the third Safe Room
Inventory spaceE.R.C. crates and some dungeon tablesExplore side routes before leaving an area
WalkthroughChapter flow

Full Walkthrough

  1. A New Day — Leave Calvin's apartment, open the first watergate and reach the Miskatonic Library Annex.
  2. The Wake-Up Call — Explore the Annex, church, printing area and Devil's Reef Hotel.
  3. A Sight for Sore Eyes — Charge the Prism across Akeley Hospital's three colored stations.
  4. Time and Tide — Power the Fish Market with Leyden Jars and defeat Shoggoth.
  5. Cold Comfort — Enter the caves, activate the portal and prepare for Slither Prime.

Open the complete five-chapter route for named locations, major puzzles, bosses and New Game Plus.

Open full walkthrough
BuildsTalents & gear

Weapons, Talents & Upgrades

Combat

Focus aim before firing so highlighted weak points appear, and save ammunition by disengaging from encounters that do not block your route.

Investigation

Connect related evidence in the Investigation Space for Talent Points and complete optional cases for additional Dream Essence.

Inventory

Search E.R.C. crates and dungeon tables for inventory expansions before longer expeditions begin to strain your pack.

Use the Talent Table in Safe Rooms from the third Safe Room onward.

Evidence room · file search

Unresolved Phenomena

Safe Codes

Every Fixed Combination

  1. Apartment 5: 1908.
  2. Church watergate: 1672.
  3. Devil's Reef Room 301: 2137.

Open the complete codes table for Akeley Hospital, Fish Market and Holloway Manor.

Hotel

Lorelei at Devil's Reef

  1. Collect three Lorelei Tokens.
  2. Open the three chests for Lorelei Lock keys.
  3. Align the basement machine before the escort.

Open the Lorelei route for the machine input and escort strategy.

Puzzles

Major Story Blockers

  1. Match the first gate fuses by wire shape.
  2. Place the church Trident on the obelisk.
  3. Charge the Prism and Leyden Jars by area.

Open the puzzle guide for the decisive steps in every major location.

Case background · Arkham archives

What Happened to Arkham?

The Sinking City 2 is a third-person Lovecraftian survival horror game developed and published by Frogwares. Set in a flooded version of 1920s Arkham, it shifts the series toward tense combat, exploration, puzzles, resource management, and survival.

Players explore interconnected districts on foot and by skiff, unlock shortcuts, manage limited inventory space, fight creatures such as Deep Ones and the Slither, and complete optional investigations for supplies, safer routes, weapons, and upgrades.

Explore All Guides
Developer
Frogwares
Platform
PC · PS5 · Xbox Series X|S
Genre
Third-Person Survival Horror
Release Date
Aug 18, 2026
Steam Reviews
84% of 833 · Aug 24
Steam Achievements
23
Engine
Unreal Engine 5

Incoming dispatches

Latest Reports

Hotfix 1.0.2 · PC

Adds an outdated-driver warning, improves PSO-related hitches and fixes a rare navigation-mesh crash on Steam, GOG and Epic.

Launch Build

Released for PC, PS5 and Xbox Series X|S with a five-chapter campaign, optional investigations and 23 Steam achievements.

Will You Enter Arkham?

From your first steps through flooded Arkham to difficult puzzles, scarce resources, weapon upgrades and eldritch boss encounters, our community guide is built to help you survive every chapter of The Sinking City 2.